
check out my hacking with wireshark
check out my hacking with wireshark
There are two fundamental — and easy — concepts to learn as we get started actually taking advantage of what Wireshark offers:
Capture filters and Display filters.
Capture Filters.
In our iOS device scenario, we want to trouble shoot a connection issue between the device and the server. We are aware the connection involves TCP packets. So we can filter the captured packets so that we only capture TCP packets. Other types of network packets will be ignored.
In practice, we typically will leave the capture filter blank — and capture all the traffic. Then we can limit the packets that are actually displayed with a Display filter. But in some high traffic situations we will actually need to filter for the type of network traffic.
This is done as shown in the image by making an entry in the Capture Options window. In the screen shot, we’ve entered TCP and we can see that Wireshark identifies it as a valid entry by giving it a green background.
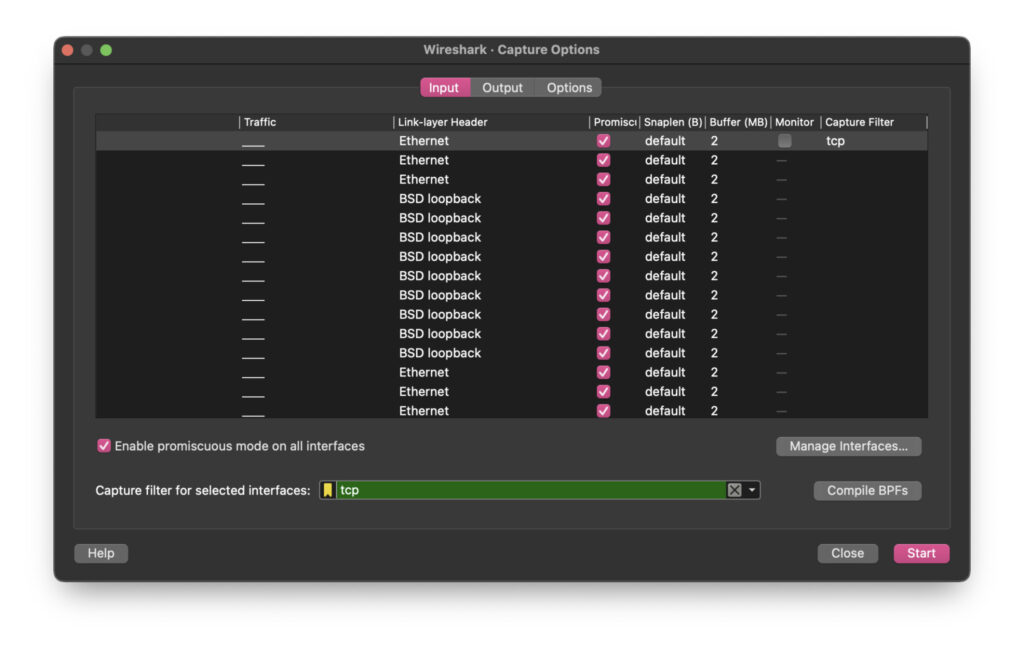
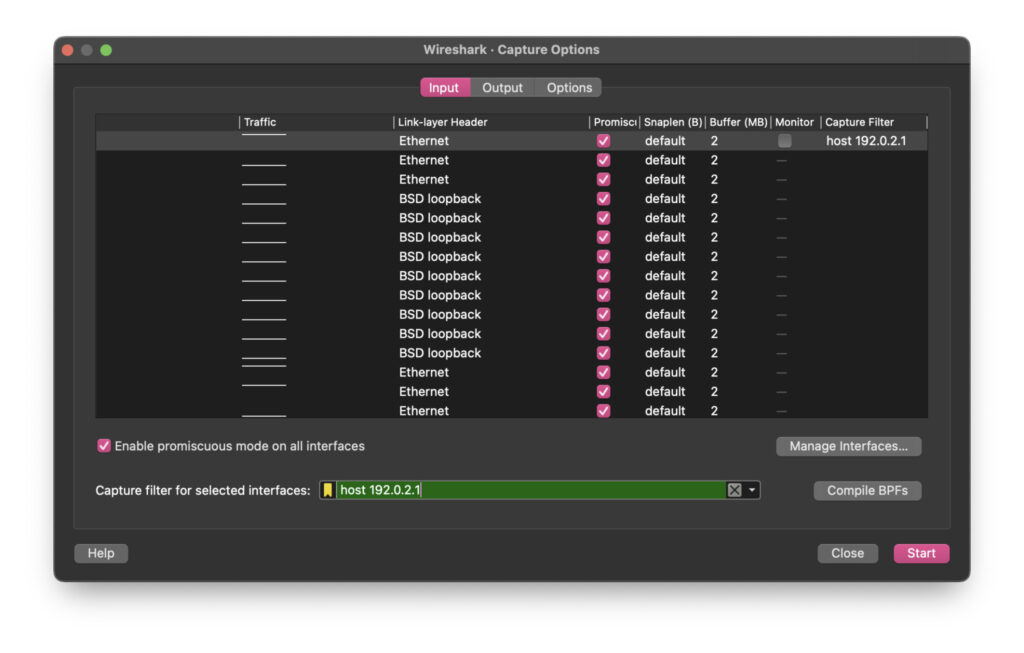
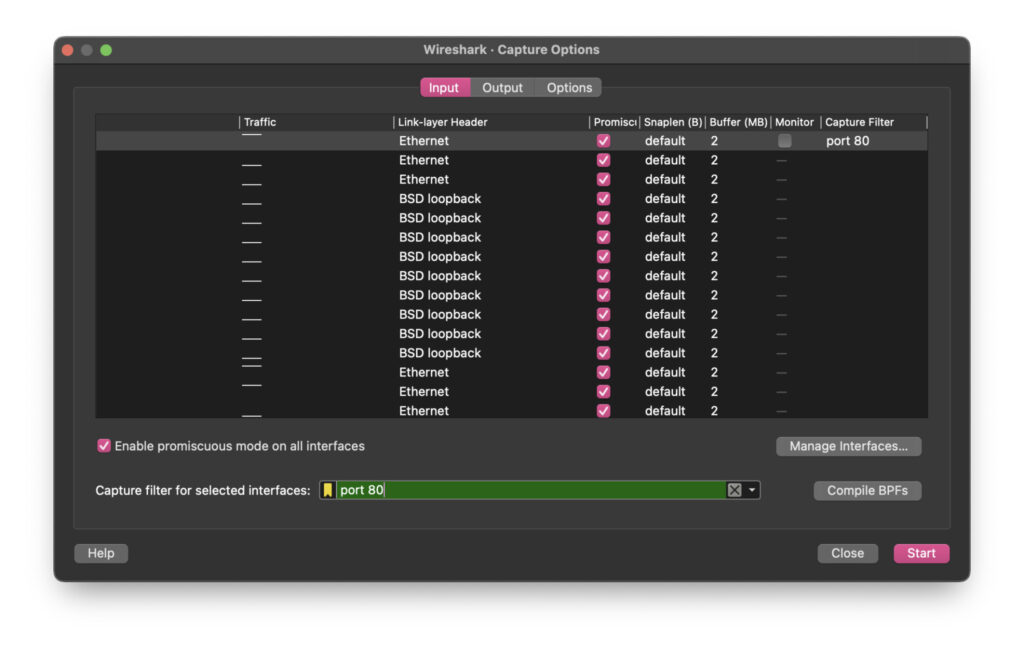
We can also filter by port or by host IP address.
Display Filters.
Display filters can be added real-time while the filtering is occurring.
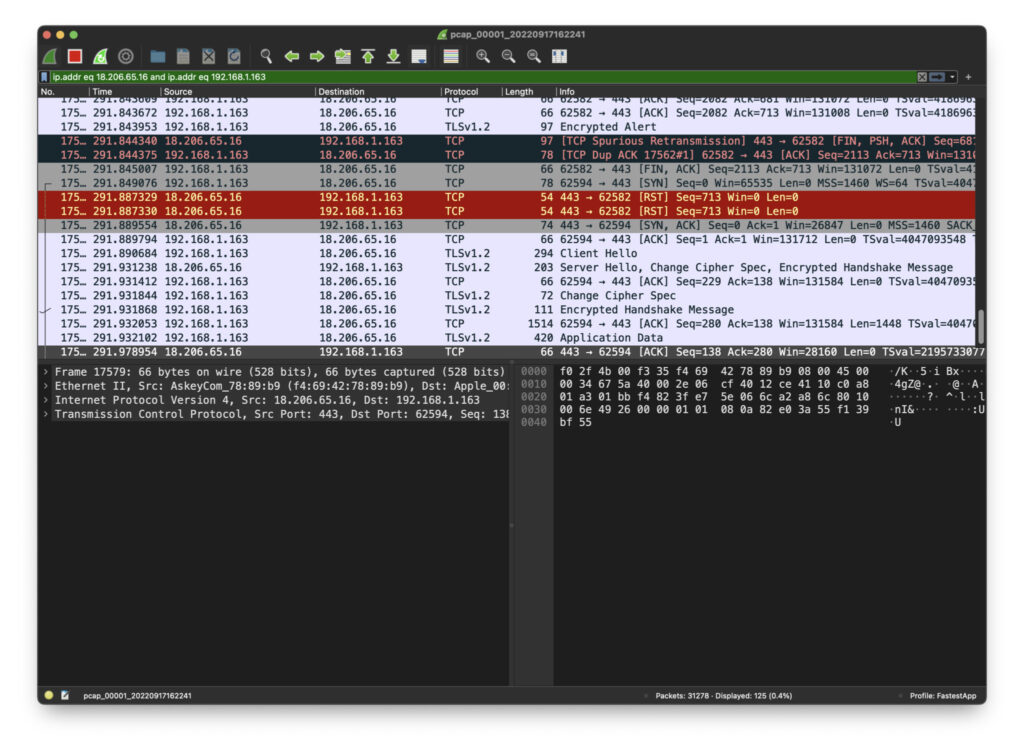
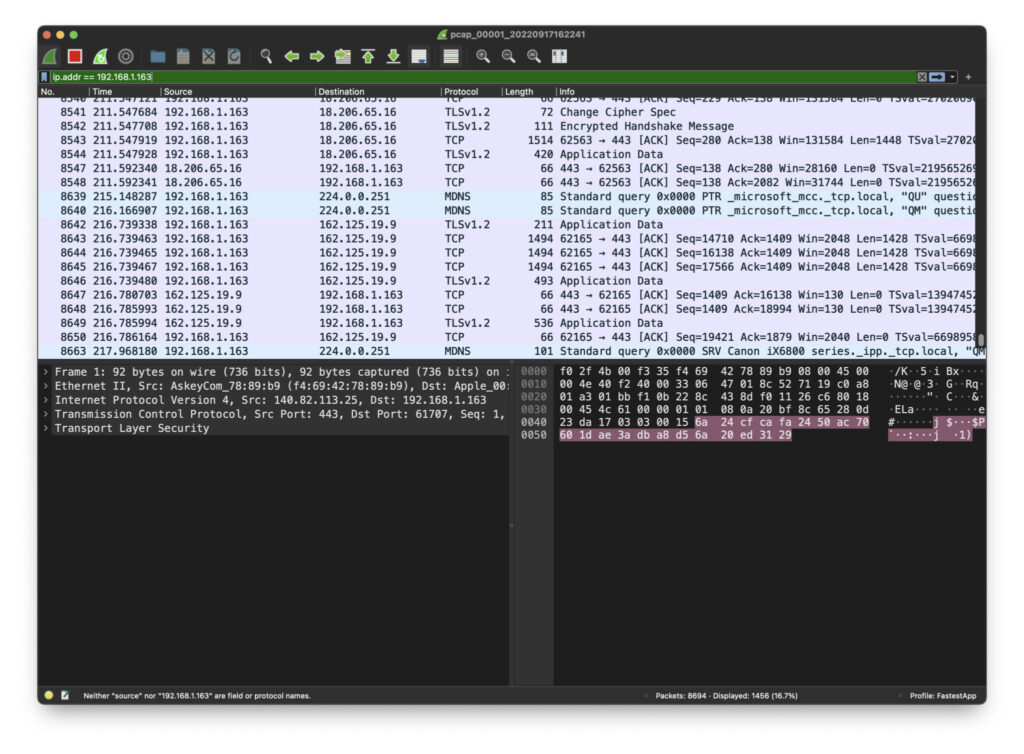
We can filter by IP address, using ‘ip addr == 192.168.1.163’ for example.
One of the most common situations will be looking for packets in a conversation between a source IP address and a destination IP address. The format for this filter is
‘ip.addr eq 142.251.35.238 and ip.addr eq 192.168.1.163’
But it’s easily entered by right clicking on a packet in the table and selecting ‘Conversation Filter -> IPv4’ as in the image. Try it. You’ve now begun to examine specific packets between a host and a client that you’ve identified.